
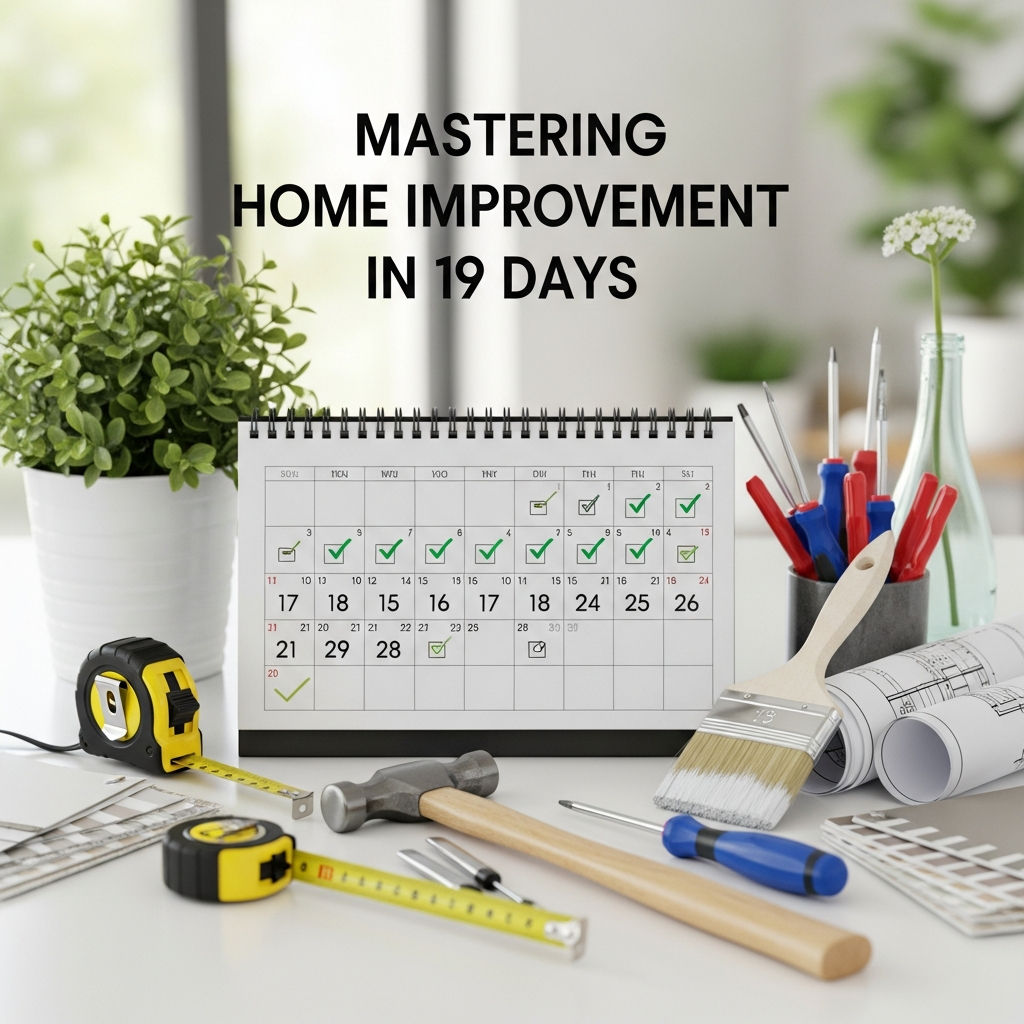
How to Master Home Improvement in 19 Days: The Ultimate Intensive Guide
The dream of a perfect home often feels like a distant goal, buried under a mountain of expensive contractor quotes and “someday” projects. However, you don’t need a year-long renovation budget to transform your living space. Mastering home improvement is about understanding the core skills, prioritizing high-impact projects, and executing with a disciplined timeline. This 19-day intensive guide is designed to take you from a DIY novice to a confident home improver, one day at a time.
Phase 1: The Foundation (Days 1-3)
Before you pick up a hammer, you must master the logic of the home. The first three days focus on preparation, safety, and building your essential toolkit.
Day 1: The Home Audit and Safety Briefing. Walk through your home with a critical eye. Create a “hit list” of every loose hinge, scuffed wall, and outdated fixture. More importantly, locate your main shut-off valves for water and gas, and learn how to navigate your electrical breaker box. Safety is the first step to mastery.
Day 2: Building the “Essential Seven” Toolkit. You cannot master home improvement with sub-par tools. Invest in the following:
- A high-quality cordless drill and impact driver set.
- A 25-foot locking tape measure.
- A multi-bit screwdriver and a set of Allen wrenches.
- A 16-ounce claw hammer.
- A level (both a torpedo level and a 24-inch level).
- Utility knives and a variety of pliers (needle-nose and channel locks).
- A stud finder.
Day 3: The Art of the Fastener. Spend this day learning about screws, anchors, and adhesives. Knowing which wall anchor to use for drywall versus masonry is what separates a professional-looking shelf from a collapsed one.
Phase 2: The Power of Surface Transformation (Days 4-8)
The fastest way to change the “soul” of a room is through its surfaces. These five days focus on the most visible elements of your home.
Day 4 & 5: Precision Painting. Painting is 80% preparation and 20% application. Master the “cut-in” technique without using painter’s tape to build true hand-eye coordination. Learn how to choose the right sheen—eggshell for living areas, semi-gloss for trim and bathrooms.
Day 6: Hardware Overhaul. You would be amazed at how much a house ages based on its “jewelry.” Replace outdated brass doorknobs with modern matte black or brushed nickel. Swap out kitchen cabinet pulls. This teaches you about alignment and basic mechanics.
Day 7: Molding and Trim Repair. Use wood filler and caulk to bridge the gaps between your walls and floors. Mastering the caulk gun is a vital skill; a smooth, clean bead of caulk can make an old room look brand new.
Day 8: Lighting and Electrical Basics. Learn how to safely swap a light fixture (always turn off the breaker first!). Replacing a “builder-grade” boob light with a modern pendant or a chic flush mount adds instant value and character.
Phase 3: The “Wet” Zones – Kitchen and Bath Refresh (Days 9-13)
Kitchens and bathrooms provide the highest return on investment. While a full gut-job takes months, mastering the essentials takes less than a week.
Day 9: Faucet Installation. Plumbers are expensive. Learning to install a kitchen or bathroom faucet yourself saves hundreds of dollars. This day teaches you about supply lines, P-traps, and compression fittings.
Day 10: Tile Backsplash (The DIY Way). Use peel-and-stick glass tile or learn the basics of thin-set and grout for a small area. A backsplash is the perfect entry point into the world of masonry and tiling.
Day 11: Deep Cleaning and Re-Grouting. Sometimes you don’t need new tile; you just need new grout. Learn to use a grout saw to remove old, stained material and apply fresh grout to make a shower look pristine.
Day 12: Toilet Maintenance and Repair. Master the “guts” of the toilet. Learn how to replace a flapper, a fill valve, and a wax ring. These are common home emergencies that you will now be able to handle with ease.
Day 13: Cabinet Refacing. If you can’t afford new cabinets, learn to sand and paint or stain the ones you have. This day is about patience and the mastery of finishes.
Phase 4: Curb Appeal and Exterior Mastery (Days 14-16)
The outside of your home is the first impression. These three days focus on the “face” of your property.
Day 14: The Power of Pressure Washing. Rent or buy a pressure washer. Clean your driveway, walkways, and siding. Seeing the grime disappear is satisfying, but learning how to avoid damaging wood or soft stone is the real lesson here.
Day 15: Landscaping Fundamentals. Learn the “thriller, filler, spiller” method for planters. Edge your lawn and apply fresh mulch. Mastering “clean lines” in your garden is just as important as clean lines in your painting.
Day 16: The Front Door Statement. Your front door is the focal point. Sand it, paint it a bold color, and replace the kickplate and house numbers. This project teaches you about exterior-grade finishes and weatherproofing.
Phase 5: Efficiency, Tech, and The Final Polish (Days 17-19)
The final stretch is about making your home smarter and more organized.
Day 17: The Smart Home Transition. Install a smart thermostat, a video doorbell, or smart locks. This teaches you about low-voltage wiring and integrating technology into your home’s infrastructure.
Day 18: Storage and Organization Systems. Master the “French Cleat” or install wire shelving systems in closets. Learning to maximize vertical space is a key skill in home management.
Day 19: The Final Inspection and Touch-ups. Walk through your home with a fine-tooth comb. Fix the tiny paint drips, tighten the screws you missed, and clean your windows inside and out. Mastery is found in the details.
Conclusion: The Path to Perpetual Improvement
Mastering home improvement in 19 days isn’t about becoming a licensed contractor; it’s about breaking the “fear barrier” that keeps most homeowners from maintaining their property. By the end of this period, you will have developed the muscle memory for tools, the eye for design, and the confidence to tackle problems as they arise.
Remember that a home is a living thing—it requires constant care. The skills you learned in this intensive period will serve as the foundation for a lifetime of DIY success. Whether you are looking to increase your home’s resale value or simply want to enjoy your living space more, the power is now in your hands. Start on Day 1 tomorrow, and in less than three weeks, you’ll be the master of your domain.
Quick Tips for Success During Your 19-Day Sprint
- Measure Twice, Cut Once: It’s a cliché because it’s true. Accuracy saves money.
- Watch Pros on YouTube: Supplement your daily tasks by watching experts like This Old House or Home RenoVision for visual cues.
- Buy Quality Materials: Cheap paint and flimsy hardware will only make the work harder and the results less impressive.
- Don’t Rush the Dry Time: Whether it’s paint, caulk, or wood glue, respect the cure times listed on the label.